15–30s ASO First App Preview Videos That Lift Installs for Developers

15–30s ASO First App Preview Videos That Lift Installs for Developers
An app preview is a device-specific, 15 to 30 second store video that autoplays muted and should show your app’s core value in the first 2 to 5 seconds. Every asset you upload must match Apple’s exact resolution and format rules or Google’s YouTube requirements. Start with the specs below, then move into storyboarding so your first frame does the selling before a single feature gets explained.
TL;DR:
- Previews must be 15 to 30 seconds long, loop silently, and match exact device-specific resolution requirements to avoid rejection.
- The first 2 to 5 seconds should show the most compelling visual or outcome to hook viewers, especially in visually rich categories.
- Captions should be three to five words, high contrast, and placed safely to ensure readability across all supported devices.
- Testing shorter previews around 15 to 20 seconds often yields better conversion rates than longer videos, so start short and iterate based on results.
- On Google Play, previews are uploaded via a YouTube link, which requires embeddability and no monetization, while Apple demands device-specific files uploaded in App Store Connect.
Table of Contents
- What app previews are and why they matter for ASO
- Official technical specs and submission rules (Apple App Store)
- Storyboard and structure: the ‘complete story’ approach that converts
- Capture: practical recording workflows for device-matched footage
- Edit and export: pacing, captions, audio, looping, and exact export settings
- Submission and differences: App Store Connect vs Google Play Console
- Testing, metrics, and iteration: experiments to run and metrics to track
- Common mistakes checklist and pre-submit checklist
- Where small teams should invest time and budget
- How Apptenium fits into your creative workflow
- Sources
- FAQ
What app previews are and why they matter for ASO
App previews live on your product page, surface in search results, and sometimes appear in featured editorial placements. On both major stores, they autoplay muted and loop, which means the visual alone has to carry your pitch. Apple recommends a “complete story” approach with a beginning, middle, and end, and stresses that the first few seconds decide whether someone keeps watching or scrolls past (Apple App Store). Since audio rarely plays automatically, treat it as texture rather than narration.
Practitioner data suggests adding a strong preview over having no video at all typically lifts conversion by 20 to 40%, with visually driven categories like games and photo or video apps sometimes seeing gains above 60% (ASOhack).
That gap is the reason previews deserve real production time, not a rushed screen recording the night before submission.
- Previews appear on the product page, in search results, and occasionally in featured collections.
- Videos autoplay muted and loop automatically, so silent-first design is not optional.
- Games and visually rich apps tend to see the largest conversion gains from adding video.
- Utility apps with less visual differentiation can sometimes rely on strong screenshots instead.
Official technical specs and submission rules (Apple App Store)
Apple’s specifications are strict, and missing one detail is a common reason previews get rejected or fail to display correctly. Length must fall between 15 and 30 seconds, and file size cannot exceed 500MB (Apple Developer). Apple accepts H.264 and ProRes 422 (HQ), delivered as .mov, .m4v, or .mp4 files.
For H.264 exports, target a bitrate around 10 to 12 Mbps. ProRes files require a much higher variable bitrate, around 220 Mbps, and call for 256kbps AAC or PCM audio. Frame rate should not exceed 30fps.
Resolution is device-specific: you upload separate assets sized for each device family you support, and each one must be assigned to the correct slot in App Store Connect. Orientation must match how the app is actually used, portrait or landscape, not whichever is easier to film.
| Spec | Requirement |
|---|---|
| Length | 15 to 30 seconds |
| Max file size | 500 MB |
| Formats | H.264, ProRes 422 (HQ) |
| File extensions | .mov, .m4v, .mp4 |
| ~10 to 12 Mbps | ~10 to 12 Mbps |
| ProRes bitrate | ~220 Mbps VBR |
| Frame rate | Up to 30 fps |
| Audio (ProRes) | 256kbps AAC or PCM |
Uploads happen through App Store Connect, where team members with the right role permissions manage assets and poster frame selection. Processing can take a few minutes to complete before the preview goes live for review.
Storyboard and structure: the ‘complete story’ approach that converts
A preview that works on mute needs a script before it needs a camera. Apple’s own guidance centers on a complete story, meaning the video sets up context, shows the core action, and lands on a clear payoff, all inside 30 seconds or less (Apple App Store). Break that into a rough timing framework:
- Hook (0 to 3 seconds): show the single most compelling visual or outcome, not your logo or splash screen.
- Core demo (3 to 15 seconds): demonstrate the primary action a new user would take, using real in-app footage.
- Feature variety (15 to 24 seconds): add one or two supporting features that round out the value proposition.
- Outcome and brand (24 to 30 seconds): close on the result or benefit, with your app icon or name visible.
Apple’s asset guidance recommends keeping at least 80% of the video representative of the actual in-app experience, with the hook landing in the first 0 to 2 seconds (Apple App Store). Category matters here: games often lead with gameplay action, productivity apps lead with the specific task solved, and photo or video apps lead with a before-and-after result.
Since the video loops and autoplays without sound, captions need to be readable at a glance, three to five words per card, high contrast, positioned away from where device chrome or store overlays might crop them. Avoid anything that dates quickly: skip pricing, promotional offers, or “Beta” labels that might not stay accurate.
Pro Tip: Pick your poster frame deliberately. Apple defaults to the frame at five seconds, but you can choose a stronger one in Media Manager so browsers see your best still image even before playback starts.

Capture: practical recording workflows for device-matched footage
Getting clean, store-ready footage starts before you open an editor. You have several capture paths available, and the right one depends on your team’s setup and how polished the final cut needs to be.
- Native screen recording on a physical device gives the most authentic footage and is the safest choice for final capture.
- The iOS Simulator and Android emulator work well for quick drafts and let you test different device sizes without extra hardware.
- Browser-based recorders and tools like iMovie’s dedicated App Preview project type can speed up rough cuts on macOS (Apple Support).
- Set up a demo account with realistic, stable data before recording, so screens do not show empty states or placeholder text.
- Turn off notifications and airplane-mode indicators so nothing unrelated interrupts the frame.
Apple explicitly disallows visible fingers, hands, or the physical device frame in App Store previews, so composition should stay screen-only. Keep captions inside a safe area away from edges where store overlays or cropping might clip them, and avoid black bars from mismatched aspect ratios.
A practical strategy that saves time: record one high-quality master take at the highest resolution your device supports, then export separate device-specific outputs from that single master rather than reshooting for every size (ScreenScript). This keeps timing and pacing consistent across every asset you submit.
Edit and export: pacing, captions, audio, looping, and exact export settings
Editing an app preview is less about polish and more about discipline. Every second either earns attention or loses it, so cut anything that does not demonstrate value.
- Front-load the strongest visual in the first 2 to 5 seconds since that is what most viewers will actually see before scrolling on.
- Keep captions to three to five words per card, placed with enough contrast to read on any background.
- Treat audio as background texture: use a short looped music bed rather than narration, since most plays start muted.
- Add captions for any spoken or on-screen text so the video communicates fully without sound, which also supports accessibility.
- Export as H.264 at roughly 10 to 12 Mbps or ProRes 422 (HQ) at roughly 220 Mbps, with a frame rate no higher than 30fps (Apple Developer).
A compact 15 to 20 second cut often outperforms longer versions in store experiments, according to practitioner testing data, which is a reason to start short and only extend the runtime if your own results justify it (ASOhack).
Since Apple and Google Play accept different delivery formats, plan two export passes from your master file: device-sized .mov or .mp4 files for App Store Connect, and a single high-resolution .mp4 to upload to YouTube for Play Console.
Submission and differences: App Store Connect vs Google Play Console
The two stores handle preview delivery in genuinely different ways, and mixing up the requirements is a common source of delay.
- On the App Store, you upload device-specific video files directly in App Store Connect, choose or adjust the poster frame in Media Manager, and wait for processing before the asset appears in review.
- Team members need the correct role permissions in App Store Connect to upload or edit preview assets, so confirm access before your submission deadline.
- On Google Play, you cannot upload a file directly. Instead, you supply a YouTube URL, which must be public or unlisted, embeddable, and not monetized or age-restricted (Google Play Console Help).
- Google Play recommends captions and high-quality thumbnails, and some Play surfaces autoplay the video inline for up to 30 seconds depending on placement.
- Apple enforces strict device-resolution rules per asset, while Play’s YouTube-based system is more forgiving of aspect ratio since YouTube handles playback.
- Localize thoughtfully: swap on-screen UI text and captions per locale rather than relying on a single English-only cut when your user base supports it (Apple App Store).
Testing, metrics, and iteration: experiments to run and metrics to track
Treat your preview as a hypothesis, not a finished asset. The most useful first experiment is video versus no video, since that result tells you whether investing further in creative variants is worth the effort (ASOhack).
- Test video versus no video first, then move to shorter versus longer cuts, and finally feature-led versus outcome-led messaging.
- Apple’s Product Page Optimization and Google’s Store Listing Experiments both let you run controlled tests against live traffic.
- Track install conversion rate, play rate, and watch-to-end percentage as your core signals of whether the preview is doing its job.
- Watch for downstream retention lifts, since a preview that sets accurate expectations often reduces early uninstalls.
- Plan to refresh your preview annually or whenever you ship a significant UI change, so the video keeps matching the current app.
Common mistakes checklist and pre-submit checklist
Most rejections and underperforming previews trace back to a short list of avoidable errors. Resolution mismatches, where a device-sized file lands in the wrong upload slot, are among the most frequent technical rejections, alongside visible hands or devices in frame and any promotional or pricing claims shown on screen (ScreenScript).
Creative mistakes are just as costly: opening on a splash screen instead of the hook, relying on narration nobody will hear, or shipping captions too small to read on a phone screen.
- Confirm every device-specific export matches its assigned resolution slot before upload.
- Check that the first frame shows value, not a logo or loading screen.
- Verify captions are legible, high-contrast, and placed in a safe area.
- For Google Play, confirm the YouTube video is embeddable and monetization is disabled.
- Preview the loop yourself to make sure the transition between end and restart looks intentional.
Pro Tip: Watch your final export muted, at actual size, on the smallest device you support. If the message still lands, you are ready to submit.
Where small teams should invest time and budget
If you are a small team, spend your time on the first three seconds and the captions, not on elaborate transitions nobody notices on mute. A simulator recording, a tight script, and two or three tested variants beat one expensive shoot that never gets iterated on. Hire a freelancer or studio once you have data showing video moves your numbers, not before.
— Mike
How Apptenium fits into your creative workflow
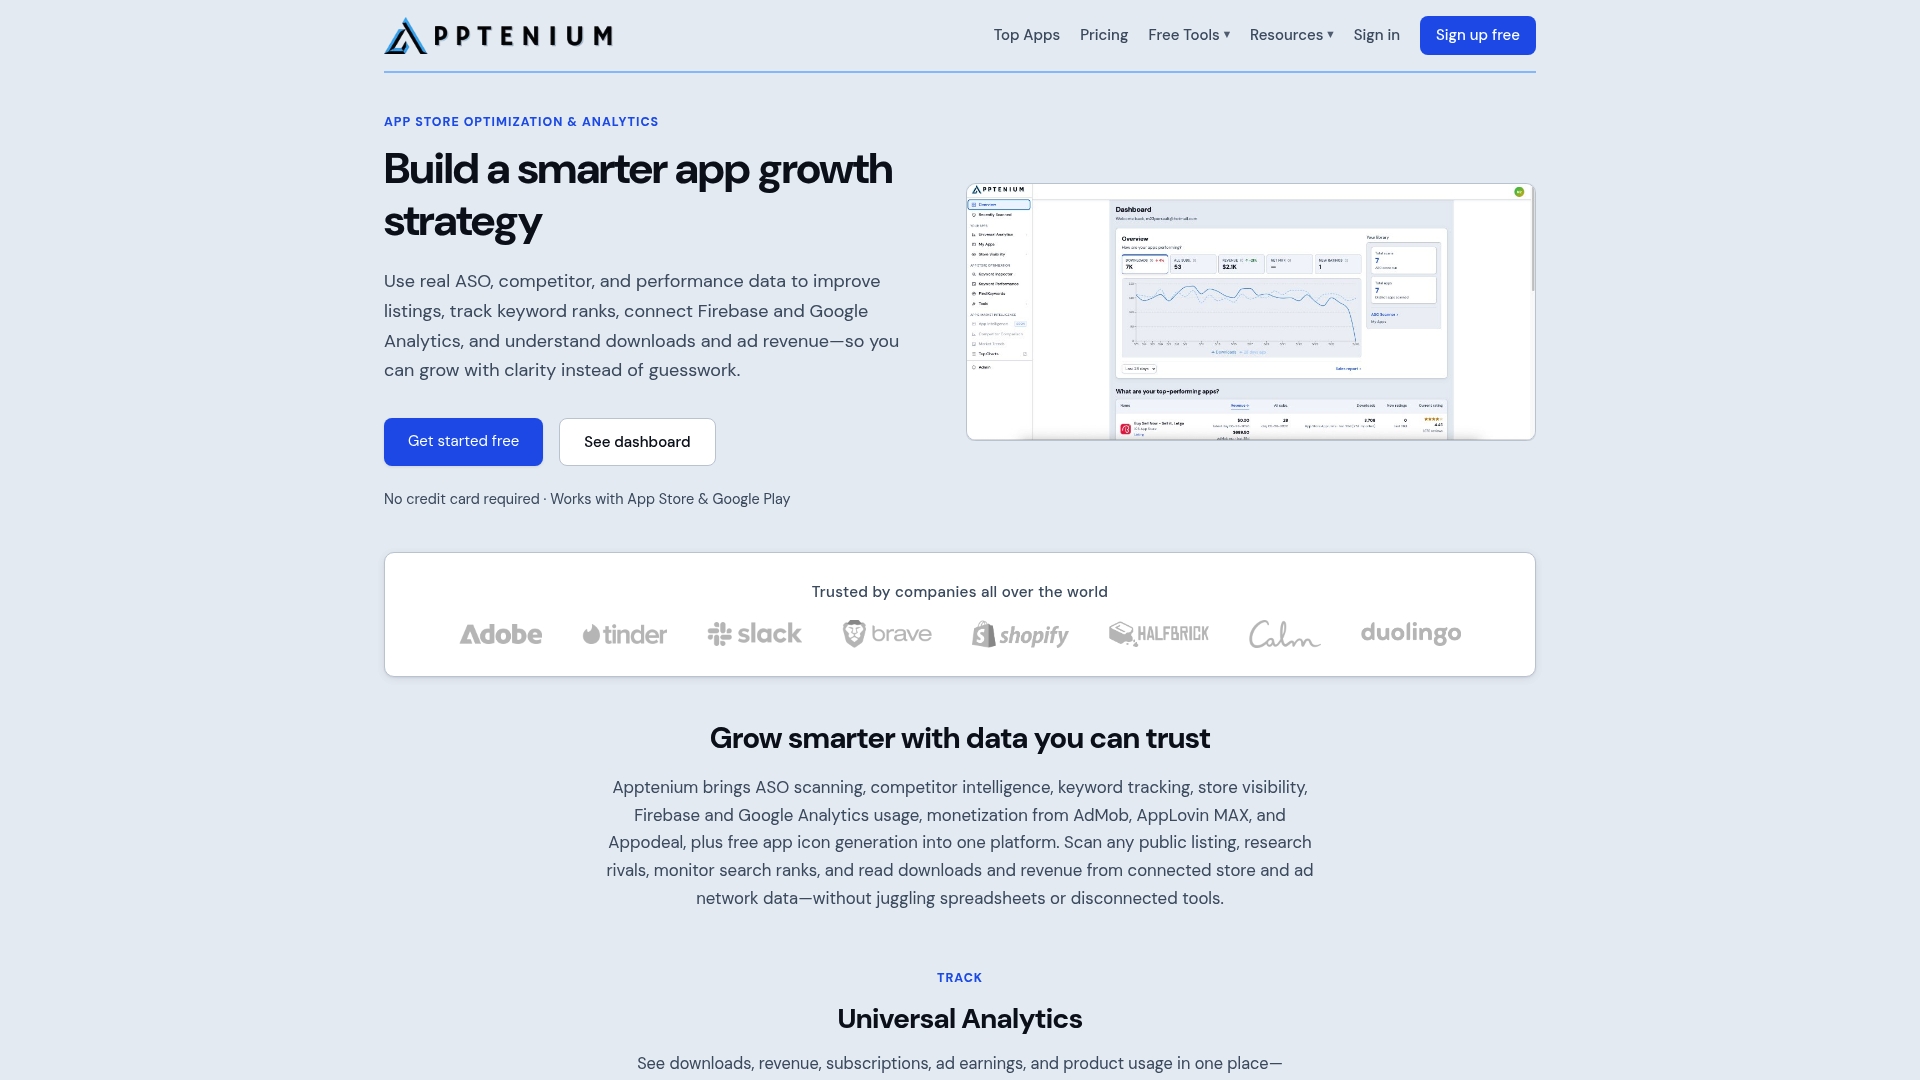
Producing a great preview is only half the job. Knowing whether it is actually moving your numbers, and where to focus your next round of edits, is the harder part. Apptenium brings ASO scanning, competitor intelligence, and keyword tracking into one dashboard, so you can see how your listing performs without stitching together data from separate tools.
- AI-powered recommendations flag weak points in your listing, which helps you decide whether a creative refresh or a copy change matters more right now.
- Integrations with Firebase and Google Analytics connect install and revenue data to the same view as your keyword rankings.
- The free ASO scanner gives you a quick read on listing health before you invest in a new preview video.
If you manage more than one app or work across a portfolio, Apptenium’s features are built to keep that prioritization work in one place rather than four separate tabs. Plans start with a Free tier for basic scans, and the Pro plan unlocks unlimited scans and premium features at $9.99 per month.
Sources
For exact, current specifications, go straight to the source: Apple’s app preview specifications and App Store preview guidance, plus Google’s Play Console preview asset docs. For hands-on production help, a partner guide on launch videos covers when hiring a studio makes sense.
FAQ
How do you make an app preview video?
Record real in-app footage using a device recorder, simulator, or emulator, then edit it into a 15 to 30 second story with a strong hook in the first few seconds. Add captions since the video autoplays muted, then export at the correct resolution and bitrate for each device you support.
How do you use the App Store’s preview feature?
App previews display automatically on your product page and in search results, playing muted and looping without any action from the user. You upload the video files directly in App Store Connect, assign them to the correct device slots, and choose a poster frame in Media Manager.
What is a preview video?
A preview video is a short, muted, looping clip that shows an app’s core functionality directly on its store listing. It plays automatically wherever the listing appears, which is why the visuals need to communicate value without relying on sound.
What are the video requirements for the App Store preview?
Apple requires previews to run 15 to 30 seconds, stay under a 500MB file size limit, and use H.264 or ProRes 422 (HQ) format in .mov, .m4v, or .mp4 containers. Resolution must match each specific device size, and the video must be assigned to the correct upload slot for that device.
How long should an app preview video be?
Apple allows anywhere from 15 to 30 seconds, but practitioner testing suggests a compact 15 to 20 second cut often performs better than longer versions. Start short, then extend the runtime only if your own store experiments show a longer cut converts better.