5 Google Play Tags That Control Your Discoverability for Developers
5 Google Play Tags That Control Your Discoverability for Developers
Google Play tags are predefined store classifications that shape where your app shows up in Explore and which apps it gets benchmarked against. You can choose up to five, and the only ones worth choosing are the ones most obviously relevant to what your app actually does. Skip tag stuffing, skip anything vague, and only revisit your picks after a real product change, not on a whim.
TL;DR:
- Choosing the most relevant tags from Google’s fixed list is critical because they influence browse placement and your app’s benchmarking peer group.
- You should prioritize tags aligned with your app category, core functionality, target audience, and only add accessibility tags after testing their support thoroughly.
- Avoid adding irrelevant, competitor, or future features as tags, as they can misrepresent your app and distort peer group comparisons, skewing performance metrics.
- Monitor the impact of tag changes by tracking Explore impressions and peer group shifts over two to four weeks, and record timestamps to analyze effects accurately.
- Use ASO tools to identify missing or mismatched tags and integrate analytics to measure whether tag adjustments improve discoverability and user retention.
Table of Contents
- What Are Google Play Tags and How Does Google Use Them?
- How Do You Choose the Right Five Tags?
- How Do You Add and Manage Tags in Play Console?
- What Mistakes Should You Avoid With Tags?
- Which Accessibility Tags Exist and When Should You Use Them?
- How Do You Measure Tag Impact and Know When to Change Them?
- An ASO Practitioner’s View on Tagging
- Scan Your Listing Before You Touch Another Tag
- Sources
- FAQ
What Are Google Play Tags and How Does Google Use Them?
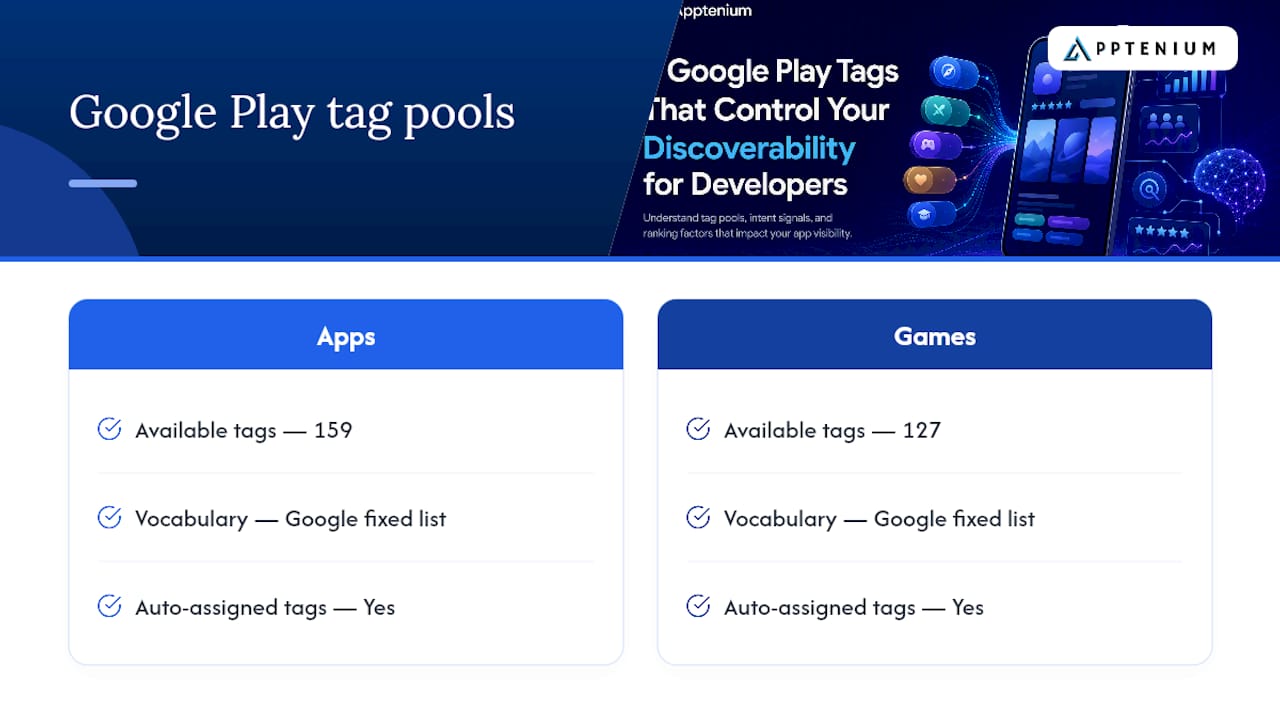
Play tags come from a fixed list Google maintains, not a text field you fill in freehand. That distinction matters more than it sounds: you are choosing from Google’s own predefined vocabulary, not writing keywords the way you would for an App Store subtitle. AppTweak’s analysis of the full list counts roughly 159 tags available for apps and 127 for games, so you’re picking from a real menu, not guessing at open text.
Tags mostly do their work behind the scenes. They influence Explore clusters, curated Play Collections, and the “similar apps” groupings that surface your listing to browsing users who never typed a search query at all. They also feed the peer group Google uses to benchmark your app’s performance against comparable listings. Keyword work in your title and description still drives search results. Tags drive the browse side of discovery, and practitioner analysis treats them as a separate lever entirely.
One wrinkle worth knowing before you audit your own listing: Google can supplement your manual selections with tags it assigns automatically, ones you never chose and can’t directly edit. If your Explore placements look off from what your five tags would suggest, that’s often why.
How Do You Choose the Right Five Tags?
Five slots isn’t much room, so treat the selection like a prioritized list rather than a grab bag. Work through it in this order, considering how page metadata best supports your selections:
- Category-aligned tag first. Play Console suggests tags tied to your chosen category, and that match is close to table stakes. Skip it and you’re leaving an easy win on the table.
- One or two core-functionality tags. These should describe what the app actually does on first launch, not a feature buried three menus deep.
- One audience or intent tag. Who is this for, or what job are they hiring the app to do? A budgeting app aimed at freelancers tags differently than one aimed at families.
- One accessibility or specialty tag, if it genuinely applies. Only use these when the feature is real and tested, not aspirational.
Before you finalize anything, open a few top-ranking apps in your category and see what tags they carry. Cross-check against the Suggested tags panel inside Console, which pulls from the same predefined list and often surfaces options you hadn’t considered.
Pro Tip: Resist the urge to grab a tag because a competitor uses it. If the feature isn’t genuinely part of your app, that tag will misrepresent you to the exact peer group meant to benchmark you fairly.
Avoid tags describing tangential features, anything aspirational for a future release, or anything lifted straight from a rival’s listing just because it ranks well.
How Do You Add and Manage Tags in Play Console?
The path is short once you know it, and the mechanics matter as much as the strategy.
- Open Play Console and navigate to Grow users > Store presence > Store settings > Manage tags.
- Use the Search tags field or filter by category to browse the predefined list rather than guessing at exact wording.
- Review the Suggested tags panel, which Console generates based on your category and existing metadata.
- Select up to five tags total. That’s the hard limit, and there’s no workaround for it.
- Save your changes. Google notes that updates can take up to 24 hours to appear on the live listing, so don’t panic if Explore doesn’t shift immediately.
A couple of operational notes worth flagging before you hit save. Permission levels in Console matter here: some team roles can view tags but not edit them, which trips up a lot of first-time users according to developer community discussion on the topic. Tags themselves don’t appear as visible text on your live store listing the way your description does, so verifying your picks means checking Console directly, not just eyeballing the storefront.
What Mistakes Should You Avoid With Tags?
The most common failure mode is treating tags like keyword real estate and stuffing in anything remotely adjacent. Google’s own guidance is blunt about this: pick tags that are most obviously relevant, not tags that might catch a stray browse session.
- Don’t add a competitor’s category tag just because their app ranks well. It wastes one of five slots and can trigger manual review if the mismatch is flagrant.
- Don’t rotate tags every few weeks chasing small Explore fluctuations. Google recommends changing tags only after significant updates to your app’s content or core functionality.
- Don’t tag for a feature you’re planning to ship rather than one that’s live today.
The benchmarking consequence is the part most developers underestimate. Wrong tags don’t just misfire on discovery. They skew the peer group Play Console uses to evaluate your vitals and acquisition numbers, which means you could be comparing your retention curve against apps that have nothing in common with what you built. A meditation app mistagged into a productivity peer group will look like it’s underperforming against tools built for an entirely different use pattern, when the real problem is the comparison itself.
Good example: a step counter tagged with “Health & Fitness” category alignment, “Fitness Tracking,” and “For Seniors” as an audience signal. Bad example: that same app also grabbing “Meditation” and “Weight Loss” because those categories get more Explore traffic.
Which Accessibility Tags Exist and When Should You Use Them?
Google’s predefined list includes accessibility-focused tags covering things like screen reader compatibility, closed captioning support, and features designed for users with motor or visual impairments. These carry real weight for the people searching specifically for apps that work with their assistive technology.
- Only apply an accessibility tag after you’ve actually tested the claimed support, not because the feature exists in a partial or beta state.
- Document what you tested in your release notes or listing description, so the claim in the tag matches the experience once someone opens the app.
- If support is inconsistent across Android versions or device types, note the limitation rather than let a mismatched tag create a bad first impression.
How Do You Measure Tag Impact and Know When to Change Them?
Track Explore impressions, install attribution by surface (search versus browse), and any shift in your assigned peer group inside Play Console after you make a change. If your peer group suddenly includes apps that don’t resemble yours, a tag edit is likely the cause.
Give any change a two to four week observation window before drawing conclusions. Explore placements don’t reshuffle instantly, and a shorter window risks reading noise as signal.
- Watch acquisition by surface, not just total installs.
- Compare your new peer benchmark against your old one for context, not panic.
- Change tags again only if you’ve shipped a new core capability, added a genuinely new audience, or overhauled major content, not because last week’s numbers dipped.
Pro Tip: Log the exact date you change tags somewhere outside Console. Explore data lags, and without a timestamp you’ll struggle to separate the tag’s effect from unrelated algorithm noise.
An ASO Practitioner’s View on Tagging
Tags get treated as an afterthought next to keyword research, and that’s a mistake we see constantly in listing audits. Some ASO scanners flag tag mismatches directly, and connecting data to Firebase and Google Analytics can help see whether a tag change actually moved acquisition and retention, or just shuffled the peer group without affecting key metrics.
— Mike
Scan Your Listing Before You Touch Another Tag
Apptenium is the tool for developers who want to know exactly which tags are missing, mismatched, or quietly dragging down their Explore visibility, without digging through Console screen by screen.
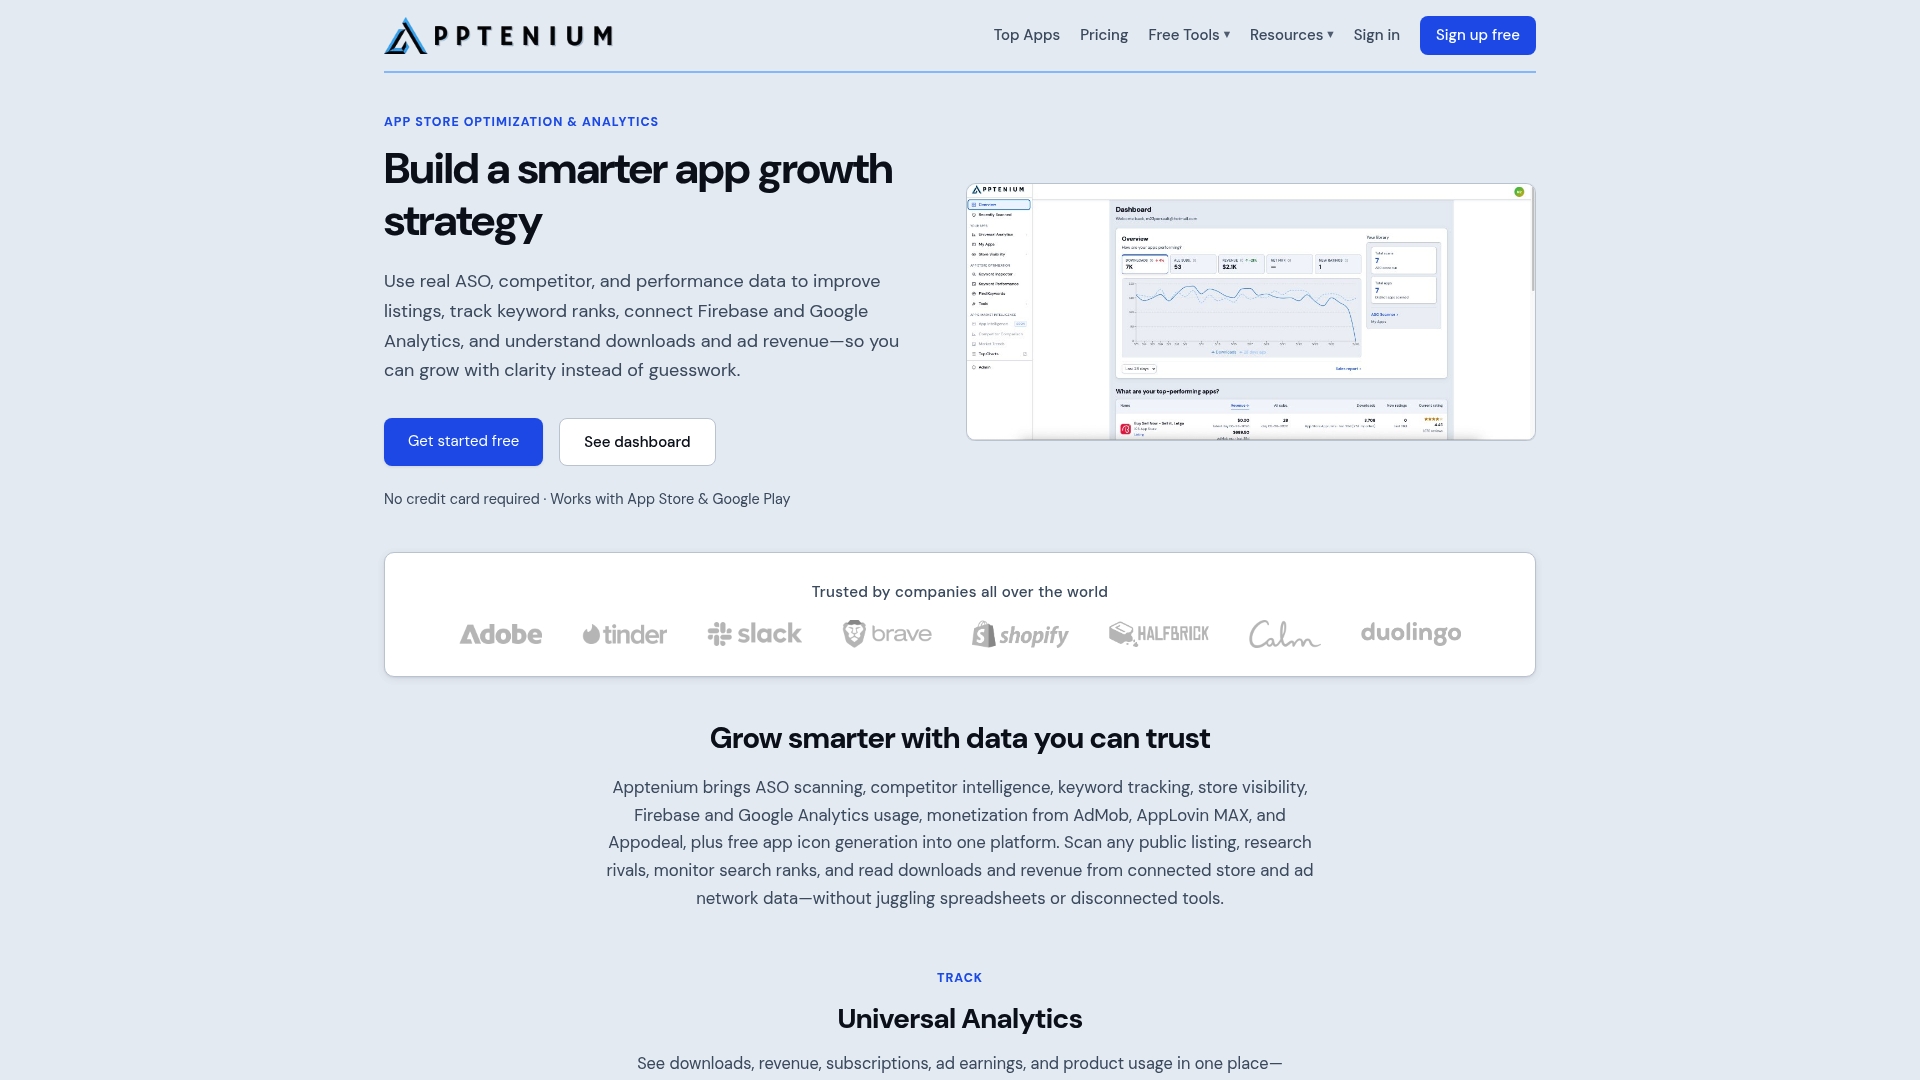
The ASO scanner runs a free preview scan against your live listing metadata and flags tag gaps alongside keyword and description issues, so you’re not guessing whether your five slots are working as hard as they could. Pair that with Firebase and Google Analytics integrations already built into the platform’s feature set, and you can watch whether a tag change actually shifts installs and retention instead of just hoping it did. The Pro plan runs $9.99 a month with unlimited scans, or start with the free tier to see what your current tags are missing. Run your first scan today and find out what’s sitting in your listing unaddressed.
Sources
Start with Google’s own tag and category guidance, then check the developer community thread for edge-case troubleshooting.
- Choose a category and tags for your app or game - Play Console Help
- Play Store Tags & Categories: How to Choose | Sonar Blog
FAQ
How Do I Find My Google Play Tags?
Open Play Console, go to Grow users > Store presence > Store settings > Manage tags, and your currently selected tags will be listed there. They don’t display as visible text on your public store listing, so Console is the only place to confirm your exact selections.
What Is the App for Managing Google Tags?
There isn’t a separate consumer app for this. Tags are managed entirely inside Play Console, the web-based dashboard Google provides to developers for listing, publishing, and analytics tasks, including tag selection.
What Are the “Tags” Settings on an Android Device?
If you’re asking about a “tags” feature in Android system settings rather than Play Console, that’s a different, unrelated function tied to file organization or notifications on some devices. Google Play tags specifically refer to the store classification system developers use to categorize their published apps.
What Are Google Play Tags Exactly?
They’re predefined labels chosen from a list of roughly 159 options for apps and 127 for games, selected in Play Console to describe your app’s category, functionality, and audience. Google uses them to shape Explore placements and the peer group your app gets benchmarked against, and you can select up to five at a time.
How Many Tags Can I Add to My App?
Google allows a maximum of five manual tags per app listing. Changes to your selection can take up to 24 hours to appear on the live listing.