Play Store Tags: How to Choose the Right Five for Your App

Play Store tags are a fixed list of up to five labels you choose in Play Console that help Google classify your app for browse and Explore placement. You pick each one from a predefined menu, not free text, and Google recommends selecting the five a brand-new user would instantly recognize as relevant to your app, with insights on app pricing and subscriptions available at apppricer.
Here’s what that means in practice:
You get five slots, no more. Play Console won’t let you add a sixth.
Every tag comes from a fixed list, so you’re selecting, not writing.
The selection rule is relevance, not reach. Choose the tags a first-time visitor would immediately connect to what your app does.
You manage tags in Play Console under your app’s store listing categorization settings, and Google’s own guidance walks through the exact path.
Get those five right, and you influence how your app shows up in Explore clusters and Similar Apps carousels for months. Get them wrong, and you’re quietly misfiling your own listing.
Key Takeaways
Choosing the right five Play Store tags requires matching each label to what a new user would instantly recognize, then auditing that alignment every time your app’s features change.
PointDetailsFive-tag limit is fixedPlay Console caps manual tags at five; choose the ones a first-time viewer would immediately connect to your app.Tags shape browse, not searchExplore clusters and Similar Apps depend on tags; search ranking still runs on title and description.Category and tags differCategory sets top-level placement and chart eligibility; tags add secondary classification and peer grouping.Auto-assigned tags existGoogle adds tags like “offline” or “single player” based on behavior, and these shift your peer-group benchmarks.Audit tags on a cadenceRun a quarterly check for relevance, global compatibility, accessibility, and listing alignment.Apptenium speeds the auditIts ASO Scanner checks tag presence, accessibility flags, and competitor signals in one pass, with a free preview scan.
A Note on Where to Focus First
Reviewing your tags every time you ship a real update is one of the highest-return five minutes you’ll spend on ASO. It costs nothing and it’s easy to skip, which is exactly why so many listings carry stale tags from a version of the app that no longer exists. Tie every tag change to an actual experiment rather than a hunch. You’ll know within a few weeks whether it worked, instead of wondering for the next year.
Table of Contents
What Play Store Tags Actually Control
Tags are classification labels, pulled from a list Google maintains and updates, not keywords you invent to chase search volume. That distinction trips up a lot of teams. You’re not writing copy when you tag an app. You’re checking boxes from a menu Google built specifically to sort millions of listings into digestible groups.
What tags actually move is browse behavior, not search behavior. When someone taps into the Explore tab, scrolls a curated shelf, or lands on a Similar Apps carousel, tags are part of what determines whether your app shows up there. Search ranking still runs primarily on your title, short description, and long description, according to Play Console’s own discovery and ranking guidance, which weighs metadata, user relevance, app quality, and editorial signals differently depending on the surface a user is browsing.
Here’s the practical breakdown:
Title and description drive keyword search matching.
Category sets your primary competitive set and top-level placement.
Tags shape secondary classification: Explore clusters, peer groups, and editorial shelves.
Screenshots, video, and short description influence conversion once a user lands on your listing.
Tags rarely work in isolation. If your tags say “meditation” and “sleep sounds,” but your screenshots show a habit tracker with no audio player in sight, you’ve created a mismatch that costs you installs even if the tag itself pulled in the impression. Alignment between what a tag promises and what your listing delivers is what protects your conversion rate once someone actually clicks through.
Tags vs. Categories: Two Different Levers
Category and tags do different jobs, and confusing them is one of the fastest ways to misconfigure a listing. You choose exactly one category. It sets your top-level placement, which chart you compete on, and the baseline peer group Google uses to benchmark your performance. Tags layer on top of that, adding secondary classification that feeds Explore clusters and editorial curation.
Here’s when each lever actually matters most:
Category change matters more when your app has fundamentally shifted its core function. A budgeting app that pivots into a full investing platform probably needs to move from Finance’s narrower slice to a broader category fit, because that decision reshapes your entire competitive set and chart eligibility.
Tags are the lever when your core function hasn’t changed, but your audience or use case has expanded. A fitness app that adds a meditation module doesn’t need a new category. It needs a tag that signals the new feature to the right browse audience.
Category mistakes are expensive and rare to need correcting; tag mistakes are cheap but common. You’ll change your category once, maybe twice, in an app’s lifetime. You should be reviewing your five tags every time you ship a meaningful update.
The practical takeaway: category answers “what kind of app is this, broadly?” Tags answer “what specific slices of that app matter to which shelves?”
How Google Uses Tags Behind the Scenes
Your five manual tags aren’t the whole story. Google auto-assigns additional tags based on signals it pulls from your app’s behavior and metadata, things like “offline,” “single player,” or “stylized,” and industry analysis from Sonar has documented this pattern across live listings. You can’t select or remove these auto-assigned tags directly, but you can influence them by how you build and describe your app.
This matters more than it sounds like, because of how peer groups get built:
Peer groups in your Play Console reports are generated from tag clustering, meaning the benchmarks you see for install rate, retention, and ratings are drawn from apps that share your tags.
If your manual tags are off, your entire benchmark set is off. You could be comparing your retention numbers against apps that don’t resemble your actual competitive landscape at all.
Auto-assigned tags complement, not replace, your manual choices. They add texture Google infers; they don’t override what you’ve deliberately selected.
Tags also feed editorial and Explore placements, where a human curator at Google is selecting apps for a themed collection. Editorial selection layers human judgment on top of the algorithmic signals tags provide, so a well-tagged app has a better shot at getting noticed for a seasonal or thematic shelf.
Pro Tip: Check your live listing periodically for auto-assigned tags you didn’t choose. If Google has tagged your app “offline” and that’s inaccurate, it’s worth auditing what in your app’s behavior or metadata is triggering that signal, because it’s shaping your peer group whether you intended it or not.
How to Pick the Right Five Tags: A Step-by-Step Checklist
Choosing tags well is a process, not a guess. Here’s the sequence that keeps you from wasting slots on labels that look good but do nothing for discovery.
Load Play Console’s suggested tags for your category first. Google surfaces a shortlist based on your app’s category and existing metadata, and that shortlist is a genuinely useful starting point, not just a formality to skim past. Read the guidance text next to each suggestion before assuming it fits.
Ask what a brand-new user would see and immediately recognize. This is Google’s own stated rule, and it’s the single best filter you have. If someone lands on your listing cold, would they nod along at each of your five tags, or would two of them require an explanation? Cut the ones that need explaining.
Scan the tags on top-ranking apps in your category to spot shared signals and gaps. You’re not copying competitors here. You’re identifying which tags the market has converged on for good reason, and which underused tags might represent an opening. Apptenium’s live rankings by store make this kind of comparison faster than manually browsing listing after listing.
Include accessibility tags when they genuinely apply. If your app supports screen readers, offers visual assistance features, or was built with accessibility as a core function rather than an afterthought, tag it. These tags serve real discovery value for users actively searching for accessible apps, and skipping them when you qualify is a missed connection, not a neutral choice.
Document your choices and tie changes to real updates. Write down which five tags you picked and why, then only revisit that decision after a significant feature release or repositioning. Google itself advises against constant tag churn.
Pro Tip: Keep a one-line rationale next to each tag in an internal doc. Six months from now, when someone on your team asks “why do we have this tag?”, you’ll have an answer instead of a guess.
Where to Add or Change Tags in Play Console
The path is straightforward once you know it, but Google has shuffled Play Console’s navigation more than once, so double-check you’re in the right section before making changes.
Open Play Console and select your app.
Navigate to Grow users, then Store presence, then Store settings (some accounts will see this under Store listing).
Find Categorization, then select Manage tags.
Browse the suggested tags Google surfaces for your category, or search the full tag list directly.
Select up to five tags, preview how they’ll appear, and save.
Before you hit save, run through this checklist:
Does your top-line description mention or clearly imply each tag you’ve chosen?
Do your screenshots visually back up what the tags promise?
Would a first-time viewer connect the dots between your icon, screenshots, and tags without friction?
Have you checked whether any tag implies a feature or region-specific function you don’t actually offer everywhere your app is listed?
Tags are global settings, not market-specific ones, so a tag describing a feature only available in certain regions can misclassify your app for users elsewhere. If a feature is region-limited, either choose a tag that reflects your app’s globally available functionality or run localized store listings to handle the distinction properly.
Common Mistakes and a Quick Audit Checklist
The most common tag mistake is treating tags like a second shot at keyword stuffing. They’re not. A tag chosen for search volume rather than relevance doesn’t help your search ranking at all, since that’s driven by title and description, and it actively hurts your browse placement by putting your app in front of the wrong audience.
Watch for these patterns:
Irrelevant tags chosen for perceived reach rather than genuine fit, which Google’s own guidance flags as something that can trigger review scrutiny and simply wastes a slot.
Frequent, unnecessary tag swapping, which muddies your peer-group data over time and makes it harder to isolate what’s actually driving performance changes.
Ignoring global compatibility, tagging a region-specific feature as though it applies everywhere your app is available.
Skipping accessibility tags when your app genuinely qualifies, leaving real discovery value on the table.
Run this audit on a quarterly cadence: check relevancy against your current feature set, confirm global compatibility, verify accessibility tags are present where earned, sanity-check your peer group in Play Console reports against apps that actually resemble yours, and confirm your listing assets still align with each tag.
Pro Tip: Keep a simple change log, date, tag added or removed, and why. It turns “did that tag change help or hurt?” from a guessing game into an answerable question.
Tracking the Impact of a Tag Change
Changing your tags without measuring the result is just guessing with extra steps. Watch these metrics before and after any change:
Browse impressions, specifically the share coming from Explore and Similar Apps surfaces rather than search.
Store listing impressions broken out by acquisition source, so you can isolate browse traffic from search traffic.
Install conversion rate on that browse traffic specifically, not your blended average.
Peer-group composition in your Play Console reports, since a tag change can shift which apps you’re being benchmarked against.
For a real test, use Play Console’s store listing experiment tools to run a controlled comparison rather than just flipping a switch and hoping. Set a control version against a variant with your new tags, and let it run long enough to collect a meaningful sample before drawing conclusions. Play Console’s experiment framework is built for exactly this kind of metadata testing, whether you’re testing tags, screenshots, or descriptions.
If browse impressions rise but install conversion drops, that’s a signal your new tags are pulling in traffic that doesn’t match what your listing delivers. If both move up together, roll the change out with confidence. If nothing moves, your tags likely weren’t the bottleneck; look at your screenshots or description instead.
Auditing Tags With an ASO Platform
Manually cross-referencing your tags, your listing copy, your screenshots, and your competitors’ choices is doable for one app. It gets tedious fast across a portfolio, or when you’re trying to catch drift over time.
This is where a dedicated audit workflow earns its place:
An ASO scan checks tag presence against your actual listing copy, flagging mismatches between what you claim and what your metadata and screenshots support.
Accessibility flags get surfaced automatically, so you’re not relying on memory to know whether you qualify for tags you haven’t claimed.
Competitor tag signals get pulled into one view, instead of requiring you to open a dozen tabs and take notes by hand.
AI-driven recommendations shortcut the guesswork in step two of the checklist above, suggesting tags based on your actual listing content rather than a hunch.
Integrations with Firebase and Google Analytics let you connect a tag change to downstream install and retention numbers instead of eyeballing a dashboard and hoping the correlation is real.
Apptenium’s approach folds these checks into a single pass rather than forcing you to stitch together spreadsheets, screenshots, and competitor research manually.
Check Your Own Listing’s Tag Alignment Free
Most tag audits fail for a simple reason: nobody makes time to run one until something’s already gone wrong. Apptenium’s ASO Scanner checks your tag presence against your actual metadata, screenshots, and competitor signals in one pass, no manual cross-referencing required.
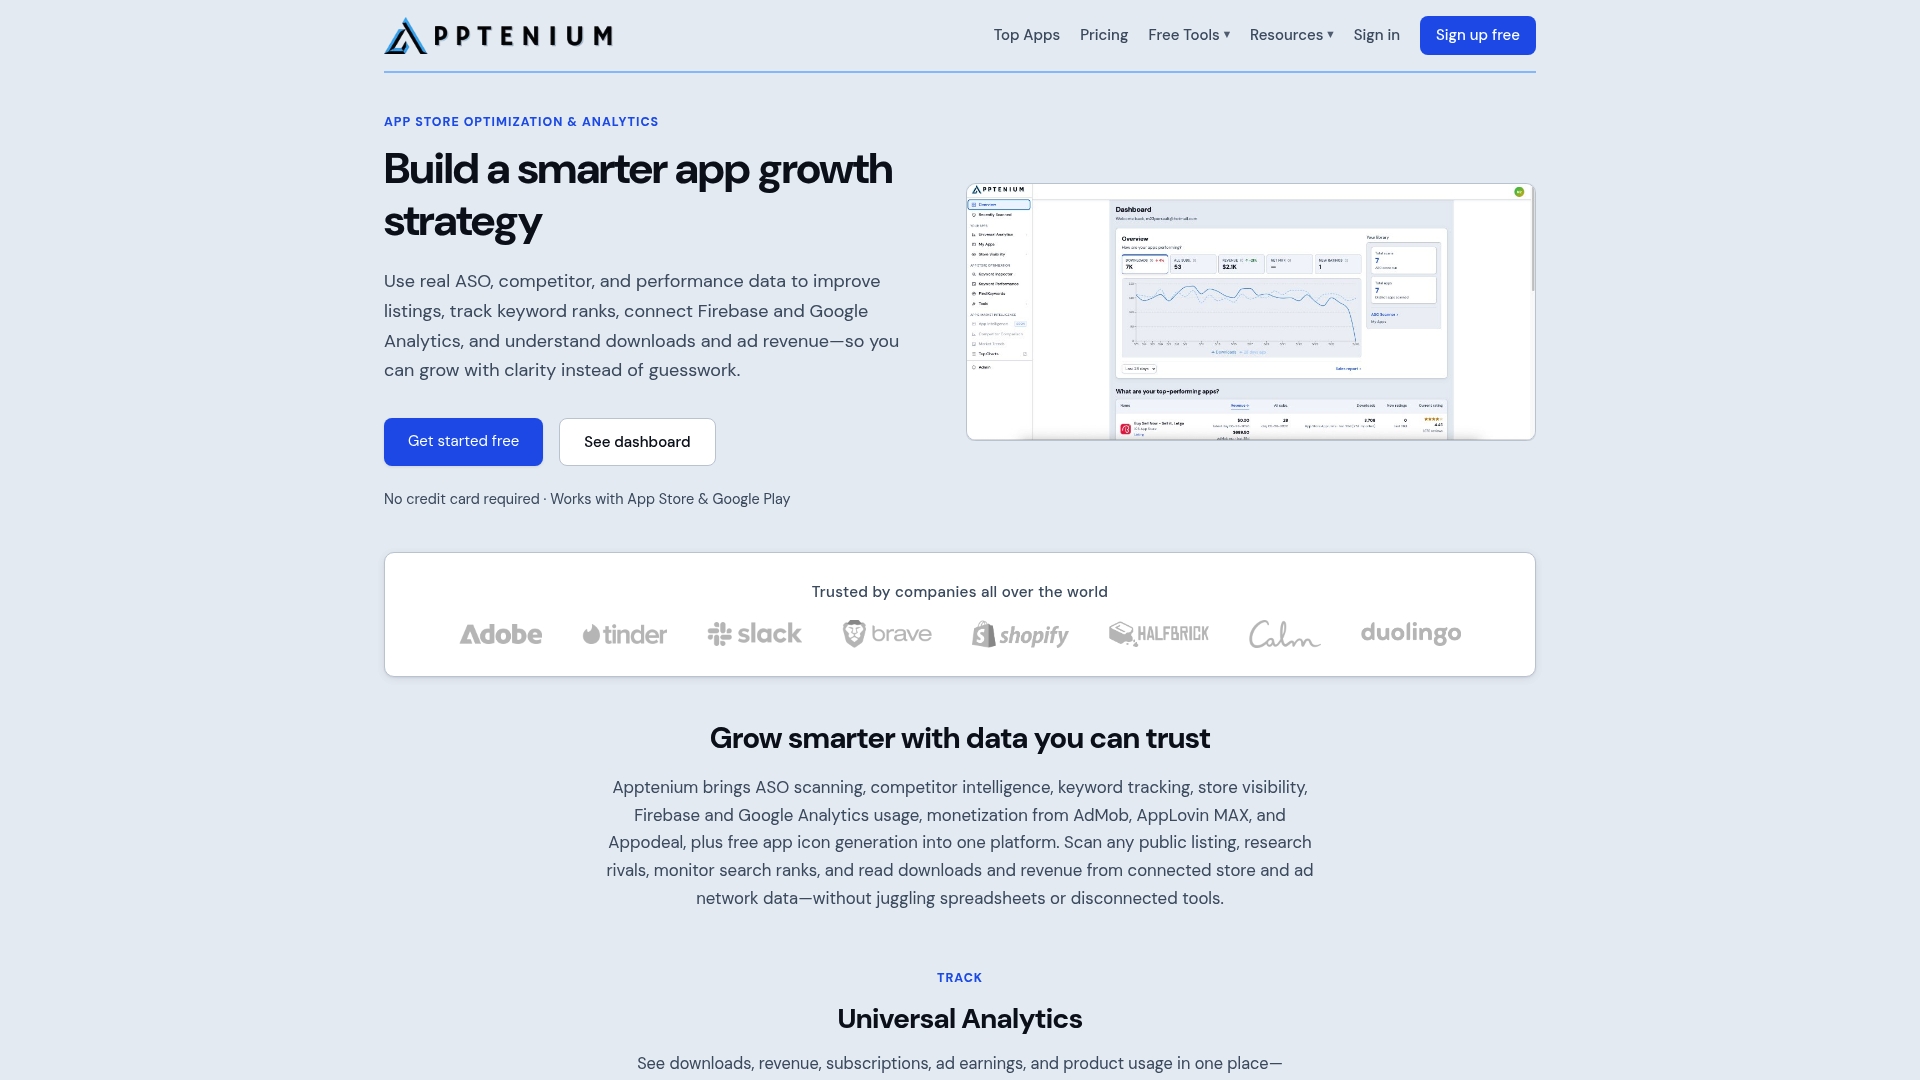
The scanner flags mismatches between the tags you’ve chosen and what your listing actually shows a new user, surfaces accessibility tags you may qualify for but haven’t claimed, and pulls competitor tag patterns into a single view instead of a dozen open tabs. Pair that with Apptenium’s AI-powered listing recommendations and its Firebase and Google Analytics integrations, and you can connect a tag change directly to install and retention movement instead of guessing whether it worked. For teams weighing tools, the breakdown of Apptenium against Appfigures covers where each platform fits for smaller ASO teams.
Run a free preview scan, no credit card required, and see exactly where your current tags and listing assets are out of sync. Start with the best ASO tool built for SMBs and startups and check your first listing today.
Sources
FAQ
Where Do I Find and Manage My App’s Play Store Tags?
Open Play Console, go to Grow users, then Store presence, then Store settings, and select Categorization to reach Manage tags.
What’s the Difference Between Play Store Tags and Categories?
Category is a single, top-level classification that determines chart placement and your baseline competitive set; tags are up to five secondary labels that shape Explore clusters and browse placement.
Can I Remove Tags That Google Auto-Assigns to My App?
No, auto-assigned tags like “offline” or “single player” come from Google’s own signal detection and can’t be edited directly, though changing your app’s behavior or metadata can influence them over time.
How Often Should I Change My App’s Tags?
Only after a significant feature update or repositioning, since Google’s own guidance discourages frequent changes and constant swapping muddies your peer-group data.
How Can I Tell if My Current Tags Are Hurting My App’s Visibility?
Check whether your browse impressions and install conversion rate on that traffic have declined, and run an ASO scan, such as Apptenium’s free preview, to catch mismatches between your tags and your actual listing content.